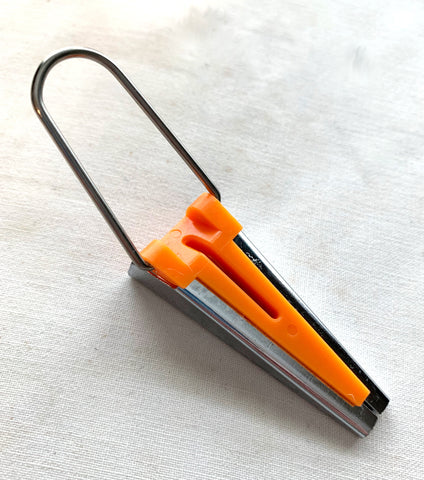
I recently acquired a set of bias tape makers. These help make bias tape so easily! They come in lots of different sizes for all your bias tape making needs. Let talk about how to use these fun tools!

I am using a size 9. The number indicates how many millimeters wide the tape will come out. So this orange tape maker makes 9 mm wide tape.

I started by cutting some fabric strips on the bias. The width I cut them was twice the width of the nose of the tape maker. (Or twice the size number in mm.) You don't have to use bias cut fabric, but that is what I needed it for.

Then I sprayed the strips with starch. This will help them hold their shape after they are pressed. I threaded the fabric through the back end till it popped out the nose of the tape maker.

If you are having difficulty getting the fabric to go through, use a needle or an awl in the slit to push the fabric towards the nose.

Next, pin the fabric to the ironing board. This is not required, but it makes it a lot easier.

Then, gently pull the tape maker away from the pin. Make sure the seam stays on the top, in the middle. Press the tape as you go.

This is what it should look like as you go.

When I am done, I like to flip it over and give it a good press from the back.

To use the tape as binding, you will need to fold it in half with the seam on the inside and press.

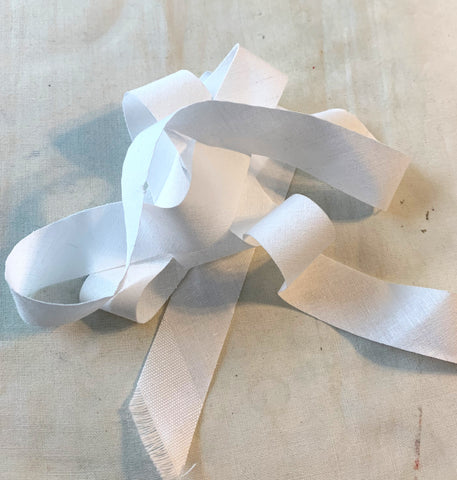
I am going to use these as little stripes in my current applique project, so I am not going to fold them in half.
This blog post is the next in a series of posts about bindings bias tape. Check out the other posts below.
How to Make Bias Tape Using a Bias Tape Maker
The Difference Between Single and Double Fold Bias Tape
How to Join the Edges of Binding and Sew on Bias Tape
If you have any questions or comments about bias tape making, leave a comment below!
Have fun quilting!
Have fun quilting!
