Curved Quilt Blocks have a reputation for being difficult. But I find that if you follow all the steps it works out pretty well. Curved blocks are mostly known for being used in the Drunkard's Path Quilt.
Today I am going to share how to make a template for a curved quilt block. I made it out of paper, but if you will be using your templates multiple times, I recommend transferring the finished shapes to something more stable. Cardboard, cardstock, or plastic.
You will need paper, scissors, pencil, pen, ruler, and something that makes a curve. I am using a protractor, but you can use a compass, bowl, cup, plate, or spool of thread.

Start by cutting two pieces of paper that are the unfinished size of your block. Draw the curve of what you want your block to look like on both squares.

The squares should look identical at this point.

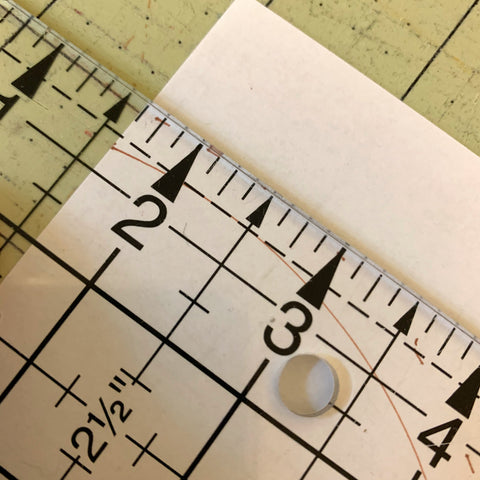
Now, add the seam allowance. Using a ruler, measure 1/4 inch away from the outside curve of the line. Mark it every 1/2 inch or so.

This is what it will look like.

Repeat this on the other paper on the inside curve of the line.

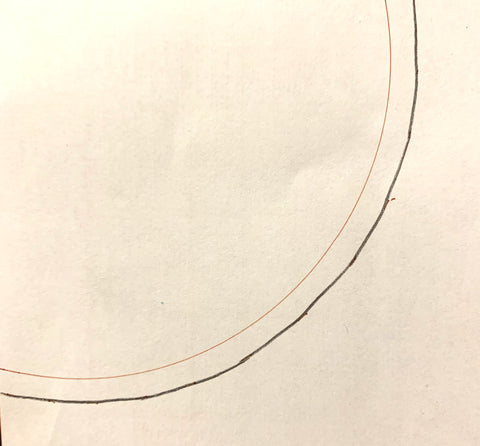
Carefully connect the dotted lines in a smooth curve.


The brown lines are the original lines. The black lines are the cutting lines. Cut on the cutting lines. Keep the side with the original line and throw away the other.

Congratulations, you did it! Now you can use the templates to cut out the fabric.

Check out my next post to see how I sew these pieces together.
Have fun quilting!

Thanks for such an easy explanation of what to do.
I asked my friend (an expert in engineering drawing) for this. It’s funny how easy it is. Thanks for sharing.